Sunday, April 24, 2011

The Outside

In addition to having 101 projects left to do inside, we have about 99 to do outside as well.  First up was this very necessary addition.

Unfortunately, our brand new 3-car garage was a freaking disaster from day one.  And I blame you, Darling.  Sorry, but you could have cleaned 50 tons of garbage out of the old garage rather that moving it all to the new garage.  Anyway, the garage has a mouse issue now, so that is lighting a fire under the situation, and now that the shed has arrived, we might finally get control of what should be a reasonably spacious garage.  Hope to have some pictures of that soon.

Next up, this!

Friday, April 15, 2011

Judy

Two posts in one day...I may not be back for months after this!   An artist friend of ours came across this piece and asked if we wanted it her.  She came to be called Judy (funny story).  Judy is larger in person than she appeared in this photo that was snapped and emailed to me when I accepted her.

We have a large vaulted wall in our master bedroom that I thought would work for her.

But now that she is in the room (on the floor, not hung up) she is quite heavy looking.  Touring around blogland made me think to spray paint her and lighten up the heavy black frame.  So, I've been spending some time tonight thinking about what color.  The plan is to paint the room "natural linen" beige with white board and batten.  Sooo...white?  cream?  apple green??  If anyone stumbles by this, leave a comment.  I'll be so shocked I promise to take your color suggestion!

Little progress

I think I need to start using this blog to keep track of what I am doing.  Since no one reads it anyway, no need to wait for pictures and all to do a complete post!

Today I sanded down the edges of the hallway chair rail b/c they were dangerously sharp (the returns) and touched up the sanded spots while I had the paint out...

And I had the paint out because it was time to wrap up this little project that I will call the big mistake :(  We had discussed putting up beadboard in the powder room, but it wasn't necessarily high on the priority list.  Eventually I couldn't stand the white walls, and started painting.  It looked GREAT!!  I used Glidden Woodsmoke, and it looked fab with the ORB fixtures.  I did stop at chair level, incase we went ahead with the beadboard.  It stayed for a few months, and just when I was about to paint the bottom, Darling decided to proceed with the beadboard.  As he was loading the materials into the cart, I said "maybe we shouldn't...."  But he assured me that it would just be a few hours and it would be done.  And that this thicker (wider) beadboard that he was choosing was going to look great.


Unfortunately, wrong on all accounts.  1.  This started a month ago and still is not done.  2.  The wider board does not look good because 3.  IT IS NOT BEADBOARD.  Nope.  It is just planks. 
No bead...Just board.  If you have this in your house, I wouldn't hate it, but it is NOT what I wanted.  It is a casual farmhouse-y style, which is just not what I was going for.  Plus the bathroom already had the 2 piece (ie formal) crown molding that went up a few months ago.  Not a good style match.  Plus, any type of wainscoting is supposed to follow that rule of thirds- 1/3 or 2/3 of the wall.  This is at a random height of 4 feet (8 foot boards cut in half)

So Darling, thank you for your hard work and effort.  I'm sorry I dislike it.  But it is what it is, and the fact that it remains unfinished was starting to make me really HATE the room, so I thought I better get to it and finish up.  So, I filled the nail holes and slapped on a quick coat of semi-gloss.  Pictures to follow.

Monday, April 4, 2011

Window Coverings b&a

What in the world is the PC name for them??  Curtains?  Drapes?  I think draperies are just heavy curtains.  Curtains sound so country....speaking of which- Our country curtains are gone!  As i was saying in the old house recap, I was trying hard to reuse the family room curtains, but it just wasn't the right look for the new house.  The old FR had a farmhouse country feel to it (see?), and it just wasn't working here.


So, I found some new "treatments" online that i thought had potential and debated forever, then finally bought one panel to see.  And I still wasn't sure.  But then I found a coupon code, so I ordered the rest.  And here they are.


I wasn't crazy about the rod-pocket style, but Darling cut a hole in them for me so that I could extend them all the way to the end of the rod (meaning over the rod holder piece) which did improve the look.  The fabric is a little thin, but it does hang ok, which may be due to the fact that I ordered 108" so the sheer weight of that length of fabric must help.  They are puddled now, and once we figure out what kind of trim will go around the ceiling we can adjust and hang higher if needed.  We are debating btwn a simple crown or a complex coffered :)


Now, I am jumping the gun on pictures of the room itself, b/c that has a ton of work left.  Currently I need to find accessories for the mantle with some height that will accentuate that lovely mirror!  Oh, and sorry I didn't clean the junk away in any of the photos.  I have to work fast around here.

Sunday, March 27, 2011

(old) Living & Dining Room Tour

The living room of course started out as an empty room since this was our first house.  It took us a few months to get sofas and tables, and then the decorating began.  First, it was mustard yellow....in my head i guess i was thinking Tuscan cafe or something, but it just turned out mustard yellow.  Darling insisted it had to go.  Immediately.  Bless him.  He chose this stone green color himself and painted right over the yellow (same weekend, i think)  It was good for a long time, but by the time we were leaving, I was very tired of it's darkness. You can't see in the photos, but we did add a simple one piece crown.
I had a lot of red accessories in there for a quite a while, but red and I ended our friendship abruptly when I woke up one day and no longer liked it.  At all.  But I didn't feel like replacing the curtains, and since they were more rust color anyway, i added in a few rust accents.  Then came the day when we ripped out the pristine white carpeting and added the hardwood.  We debated dark wood, but already had light oak railings and the idea of sanding and restaining them sounded horrible, so we went with the honey oak.  Beautiful 5" planks that we loved.  (And insisted on in the new house -different wood)   It was so nice to have a floor that felt solid since the builder had skipped over the process of screwing down the subfloor under the carpet.
 That carpet is another thing I have been trying to salvage in the new house.  This one in the dining room was purchased for the living room and i quickly realized it was much to small, so i moved it over and invested in the larger one as well.  They really are beautiful rugs, but again...they just seemed so much better at the old house.  Not the right style here....too bad rugs are soooo expensive!!
The bones of the dining room (once we constructed them) are great.  Love the floors, love the moldings, love the paint.  Darling added the (fake) 2 piece crown- well, I mean it really is 2 pieces, but not in the traditional way.  It is crown with ogee spaced a few inches below. He also added the chair and wainscoting-whatever-you-want-to-call-them boxes.  The paint is some green-gold color that i have long forgotten the name of, but I loved it!  I wanted to add it to the living room as well, but wasn't sure if the camel colored sofas worked with it. I was also happy with the curtains at the time.  brought them here to the new house as well, but they are too short (95") for this house.  The light fixture...well, the original brassy brass plastic guy had to go asap, so I was in a rush to get a fixture and chose something that was just better than the original, not necessarily what i liked best.  And i hadn't decided on a "style" for the room, so anyway.  The table was on loan, basically my dining room was a storage locker for it, and it stayed.  For years.  Until we moved and I got rid of it. 
hmmm, how do you put pictures side by side???

Wednesday, March 16, 2011

(old) Kitchen Tour

I am anxious to get a house tour together, but the house is just not ready for one!  So, I thought I'd condense the pictures of our previous home into a tour.  It's fun for me to look back anyway. Let's pick apart the kitchen/family room for today.
Here we go...
 So, this was our first house, we were just out of college and so happy with our new home, even though it was the ultimate definition of builder basic.  We put a ton of work into it to spruce it up.  Within weeks of moving in we tore out the brassy brass PLASTIC light fixtures, and put in new ones.  Nothing special (and remember this was many years ago!), but still such an improvement over the original.  Two builder basics that were never replaced are the counters and floors.  I was never quite sure about the black laminate, but it wasn't something that was feasible to replace.  And the vinyl floors actually never bothered me.  They were easy to keep clean, and looked decent.  Not that we were willing to live with them in the new place :)
 My darling husband put up the backsplash himself after we got a quote and found it crazy expensive.  We thought it turned out great for a very first attempt at tile.  The cabinet hardware was replaced a few times.  The original brassy brass handles were spray painted a hammered nickel, and that actually worked well for years, but then Darling wanted to replace them altogether, which was an expensive undertaking we probably shouldn't have bothered with.
 Ooh, here you can see the sink, which is nothing special BUT it was originally the smallest double bowl I'd ever seen.  You couldn't even wash a 9 x 13 cake pan in it!!  And it was about 2 inches deep too, with the most utilitarian standard faucet ever!  So Darling cut through what must have been bottles and bottles of silicone and liquid nails to get the old sink out and replace it, and the faucet as well.  I had him throw in those sink tilt-outs at that point too... Oh, and speaking of bottles of liquid nails...the builder put the island counter on backwards, so that the overhang was on the fridge side, and you couldn't open the fridge all the way :(  So we fixed that.  And yes, there were counter stools there at one point, before we had kids that climbed on them and tipped them over and almost cracked their heads open.
 The table was an old old hand-me-down that we spray painted in attempt to freshen it up.  It went with the kitchen pretty well, and it took a lot of abuse from the kids, so it did ok!  I had Darling add the trim around the knee wall, I think it adds some character.  Those curtains are currently hanging in my new family room because I LOVED them so much in that room.  Just not the same though...they definitely belonged more in that room.
I still love the crown on the cabinets.  We upgraded the cabinets (from oak to maple) and we were happy with them, but one day out of the blue I realized they didn't have crown molding and they looked soooo unfinished.  I was on a MISSION to get that done!  I tracked down a company that carried the right brand of cabinetry and ordered the thickest crown possible.  And paid many hundreds of dollars for it too....I wish we had the same type in the new house, we were so far over budget on the new kitchen that we had to get skinny crown...Miss you, chunky crown!  Hope your new owners appreciate you!

Thursday, March 10, 2011

Crazy Town!

That is what my son declared the playroom when he saw what i was doing, lol.  I could kick myself for not getting a proper before pick that showed the white walls, untreated windows, and toys everywhere.  At best, there were toys pushed up against the wall, on the floor, all the way around the perimeter of the room.  But usually scattered throughout so that you couldn't walk without killing yourself. 
But, here is the literal before....before all the toys boxes and been unpacked and dumped into the room...

Terrible picture, I told hubby to take photos of all the rooms that day, and this doesn't show much of the room, but whatever.
Now for the after:
First I found the curtains and loved them for the playroom. 

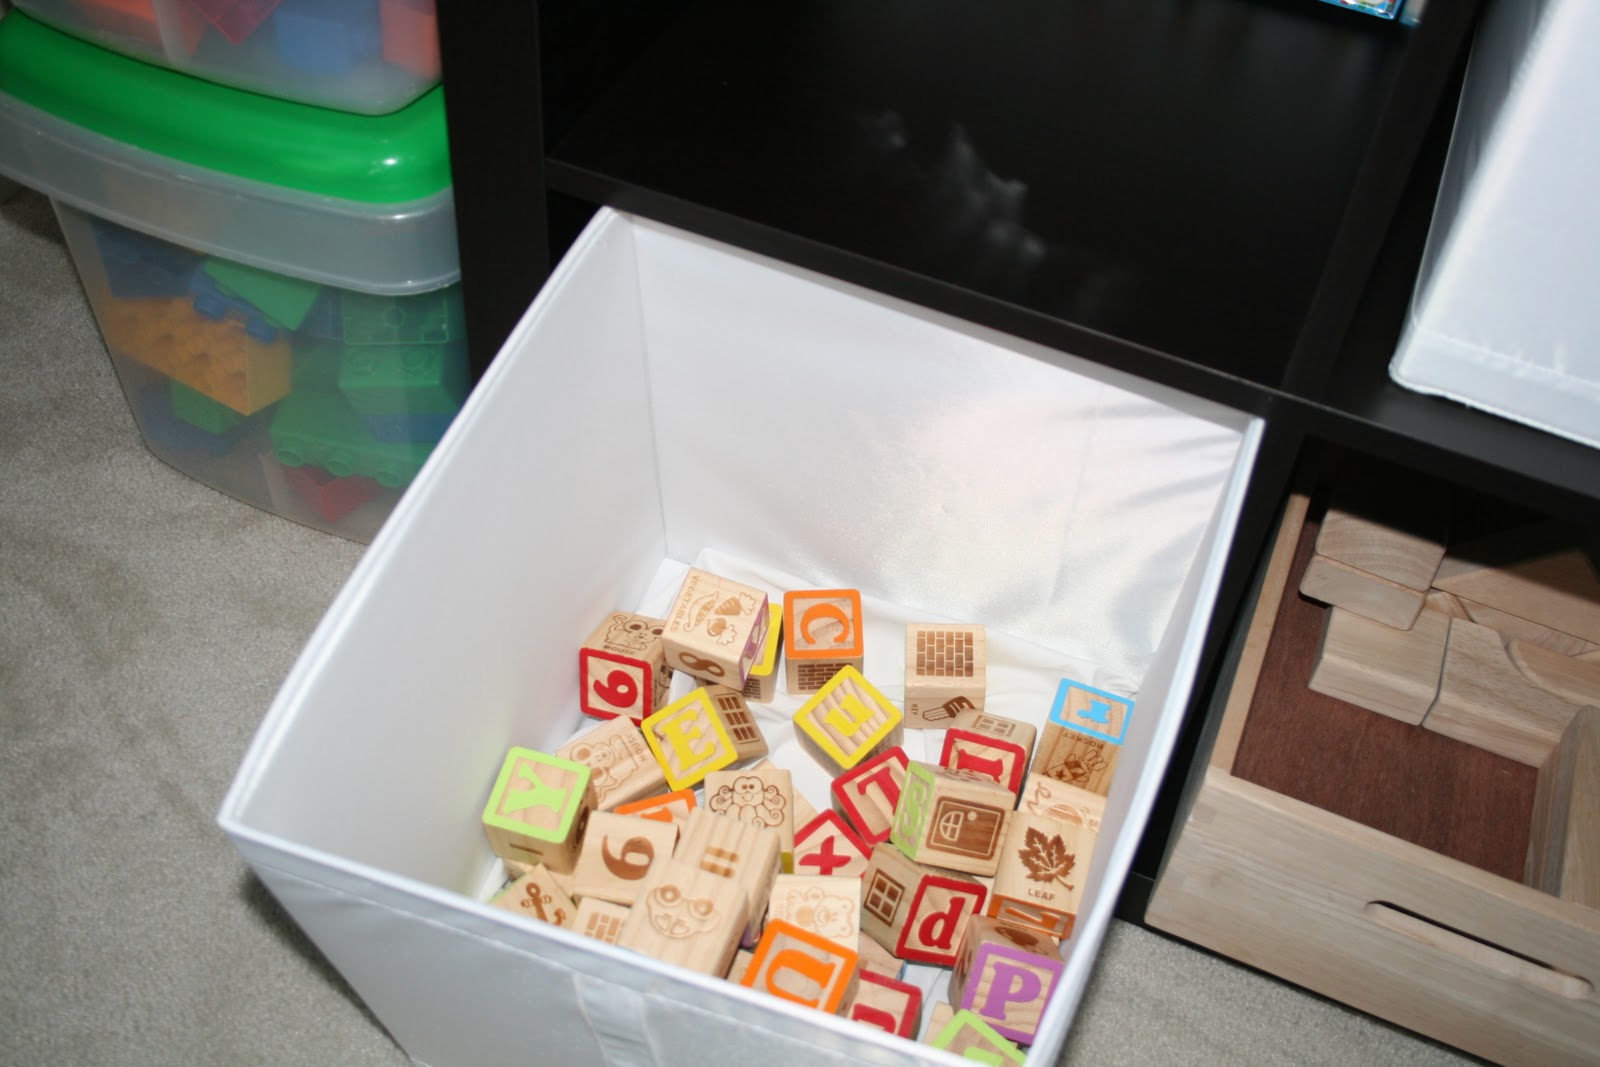
Then, since they had a modern feel, I thought it was a sign to go with the Ikea bookcase I had been debating.  The bins (Ikea as well) are spacious for toys-
or babies!-
 The other sides:


Probably going to add some kids artwork to the walls (relocate these that are in a hallway...)
 Anyway, the kids love the improved space!